Making 2d animated video is an effective way to engage with the audience. It has become one of the most popular niches in today’s generation. Some of the various forms dominate, like movies, logos, and illustrations. Additionally, it retains the importance of a global language by decreasing linguistic barriers and is often described as a universally understood form of communication.
While making an animated video could be difficult and time-consuming, but it can be a lucrative and enjoyable process with the right tools and guidance. This blog provides a step-by-step guide to making 2D animated videos.
1. Script Making
The script is considered as a foundation of the video because a high-quality animated video does not make any impact without a well-written script. The first step in making a 2D animated video is to have a clear understanding of the overall story that you are going to make. Once you have the story in mind, it is essential to have a well-written script that shows all the steps of the animated story. It will make it easier to follow, scene by scene, according to the script.

2. Storyboard:
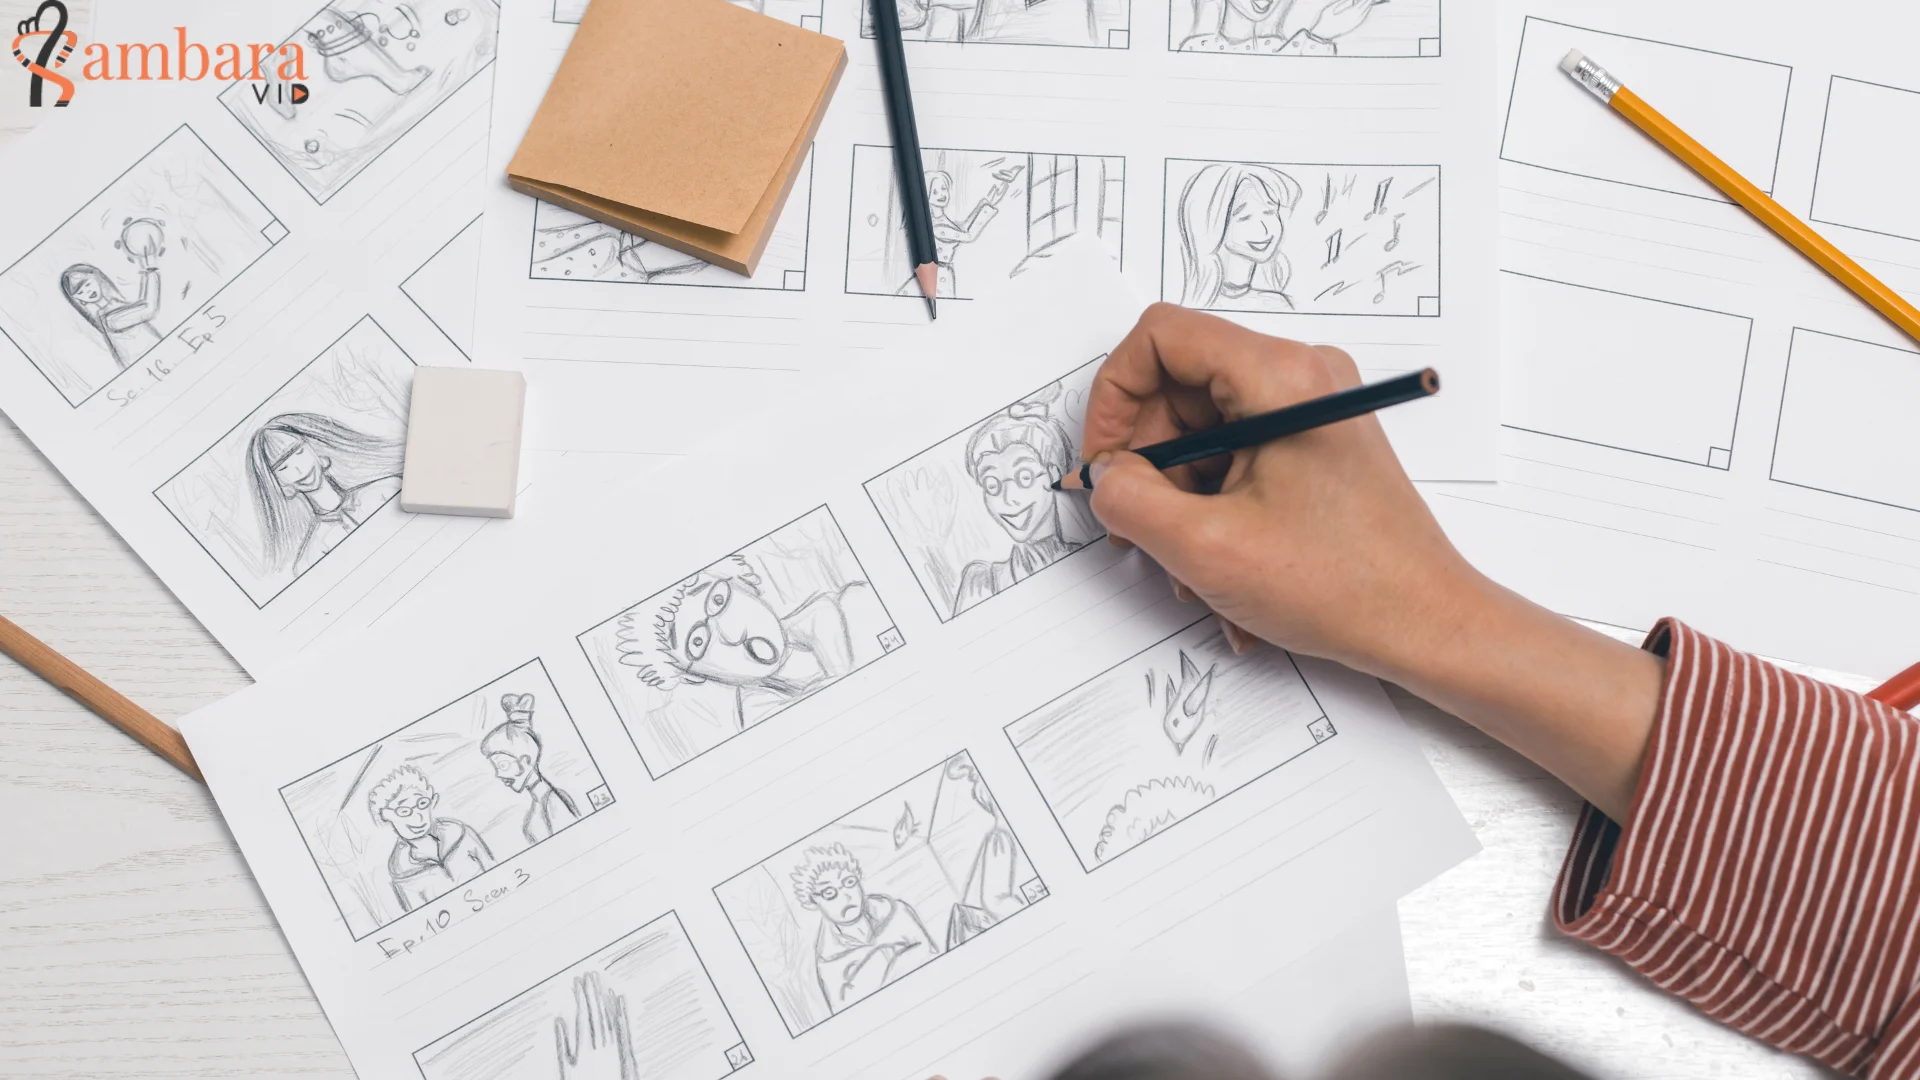
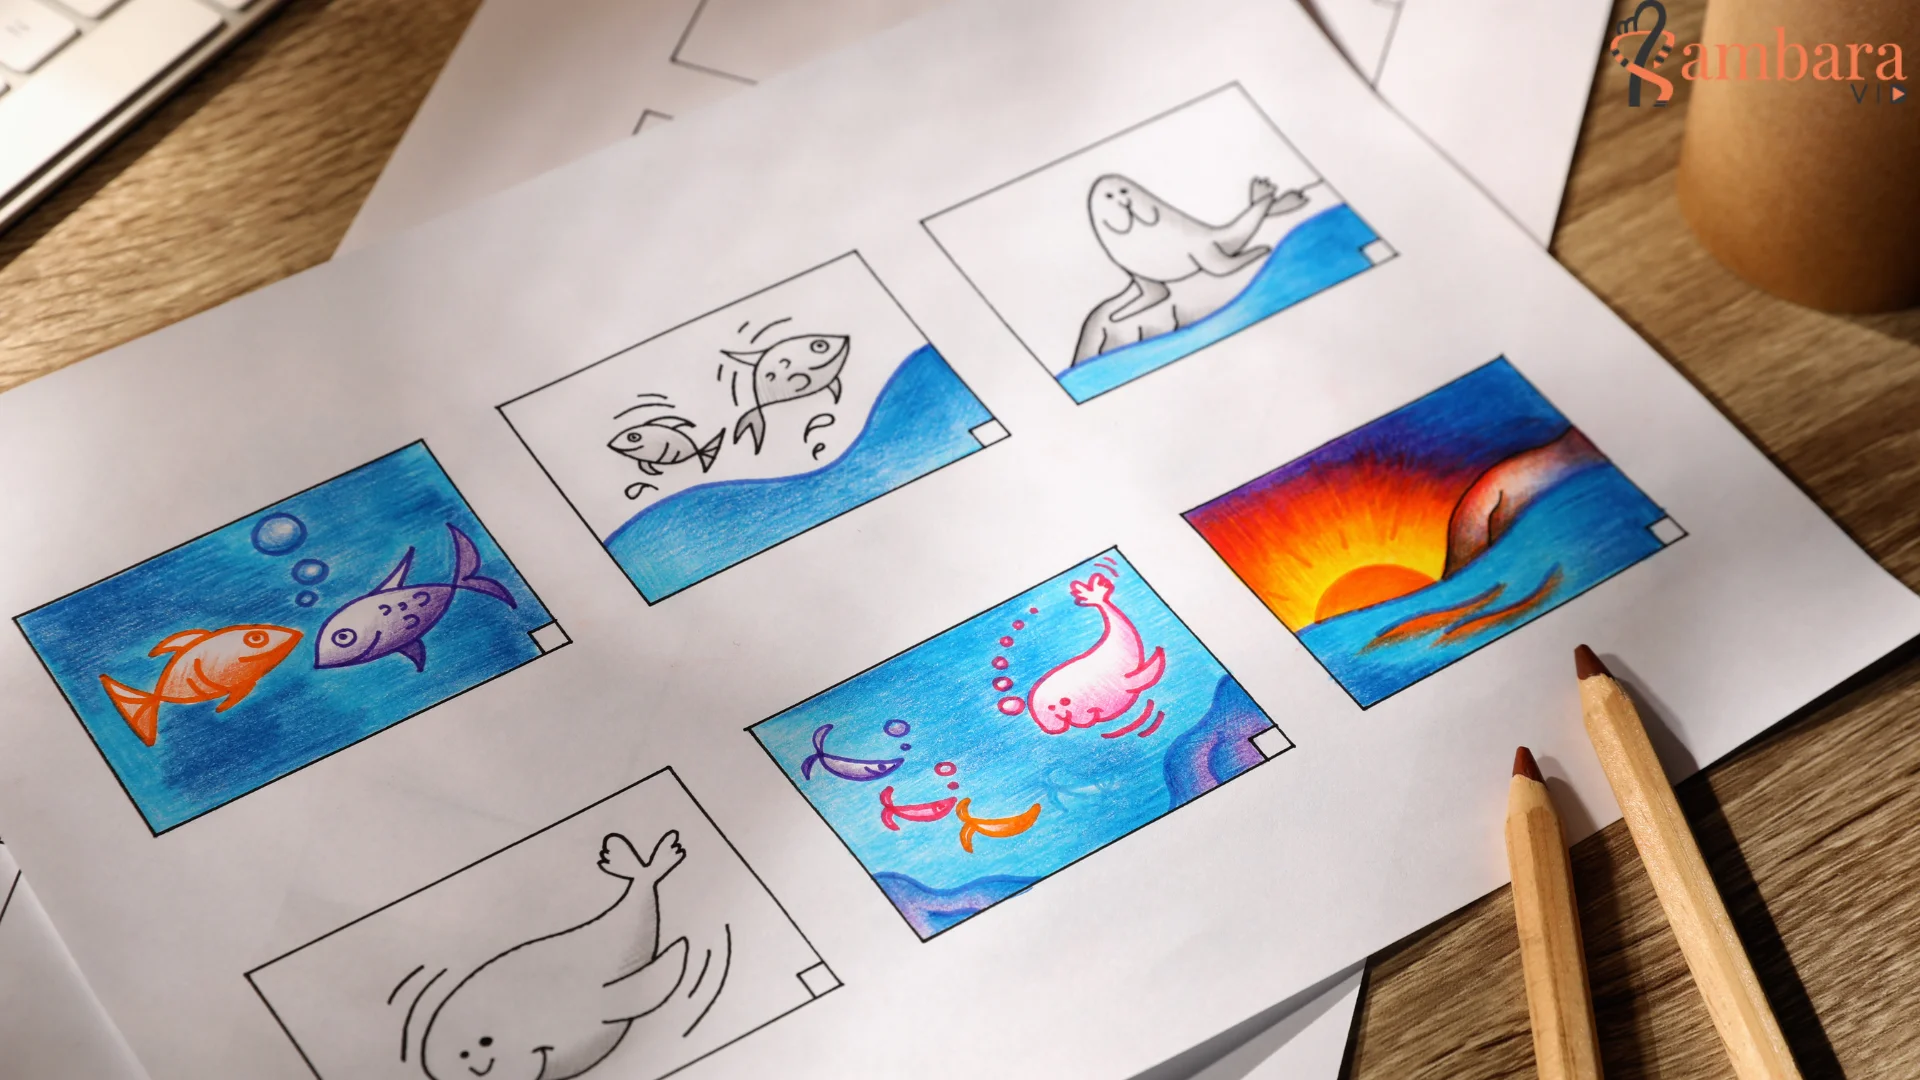
A storyboard is a step in which the script converts into a drawing. It’s a visualization of the whole story such as where the character comes from? Where does it go? Where’s the camera etc. Moreover, it visualizes the entire project before the actual production begins. There are multiple software like After Effects, pencil 2D, and Adobe Character Animator that helps to make all types of 2D animated characters. Additionally, it conveys all the animation’s story, scenes, visuals, and transitions.

Making a storyboard for 2D animation can be time-consuming, but it is crucial for making 2D animated videos. There are multiple types of storyboards, and some of them are:
- Thumbnail storyboard
- Animated storyboard
- Sketched storyboard
- Layout storyboard
- Flowchart storyboard
Follow these steps to draw on storyboard:
- After writing the script, use drawing tools like rectangles, pens, erasers, and brushes to draw the background of the video.
- The last task is to design characters. The software has many custom characters (mentioned in the first step). Create a layer, separate, and do prepare the chosen character for the animation.
3. Animate
In animating the video, the best thing is that there is no need for any tool to animate the video. The same software will enable you to animate the video. For animating the 2D video, various steps are crucial to learn, such as:
- Learn about the usage of motion tweens and shapes tweens.
- The difference between frame and key frames.
- The usage of frames, key frames, shape tweens, and motion tweens, for looping. By doing this, the character gets a realistic touch to the animated video.
- Animation of the character.
- Test the animation and adjust.
4. Add Music or voiceover
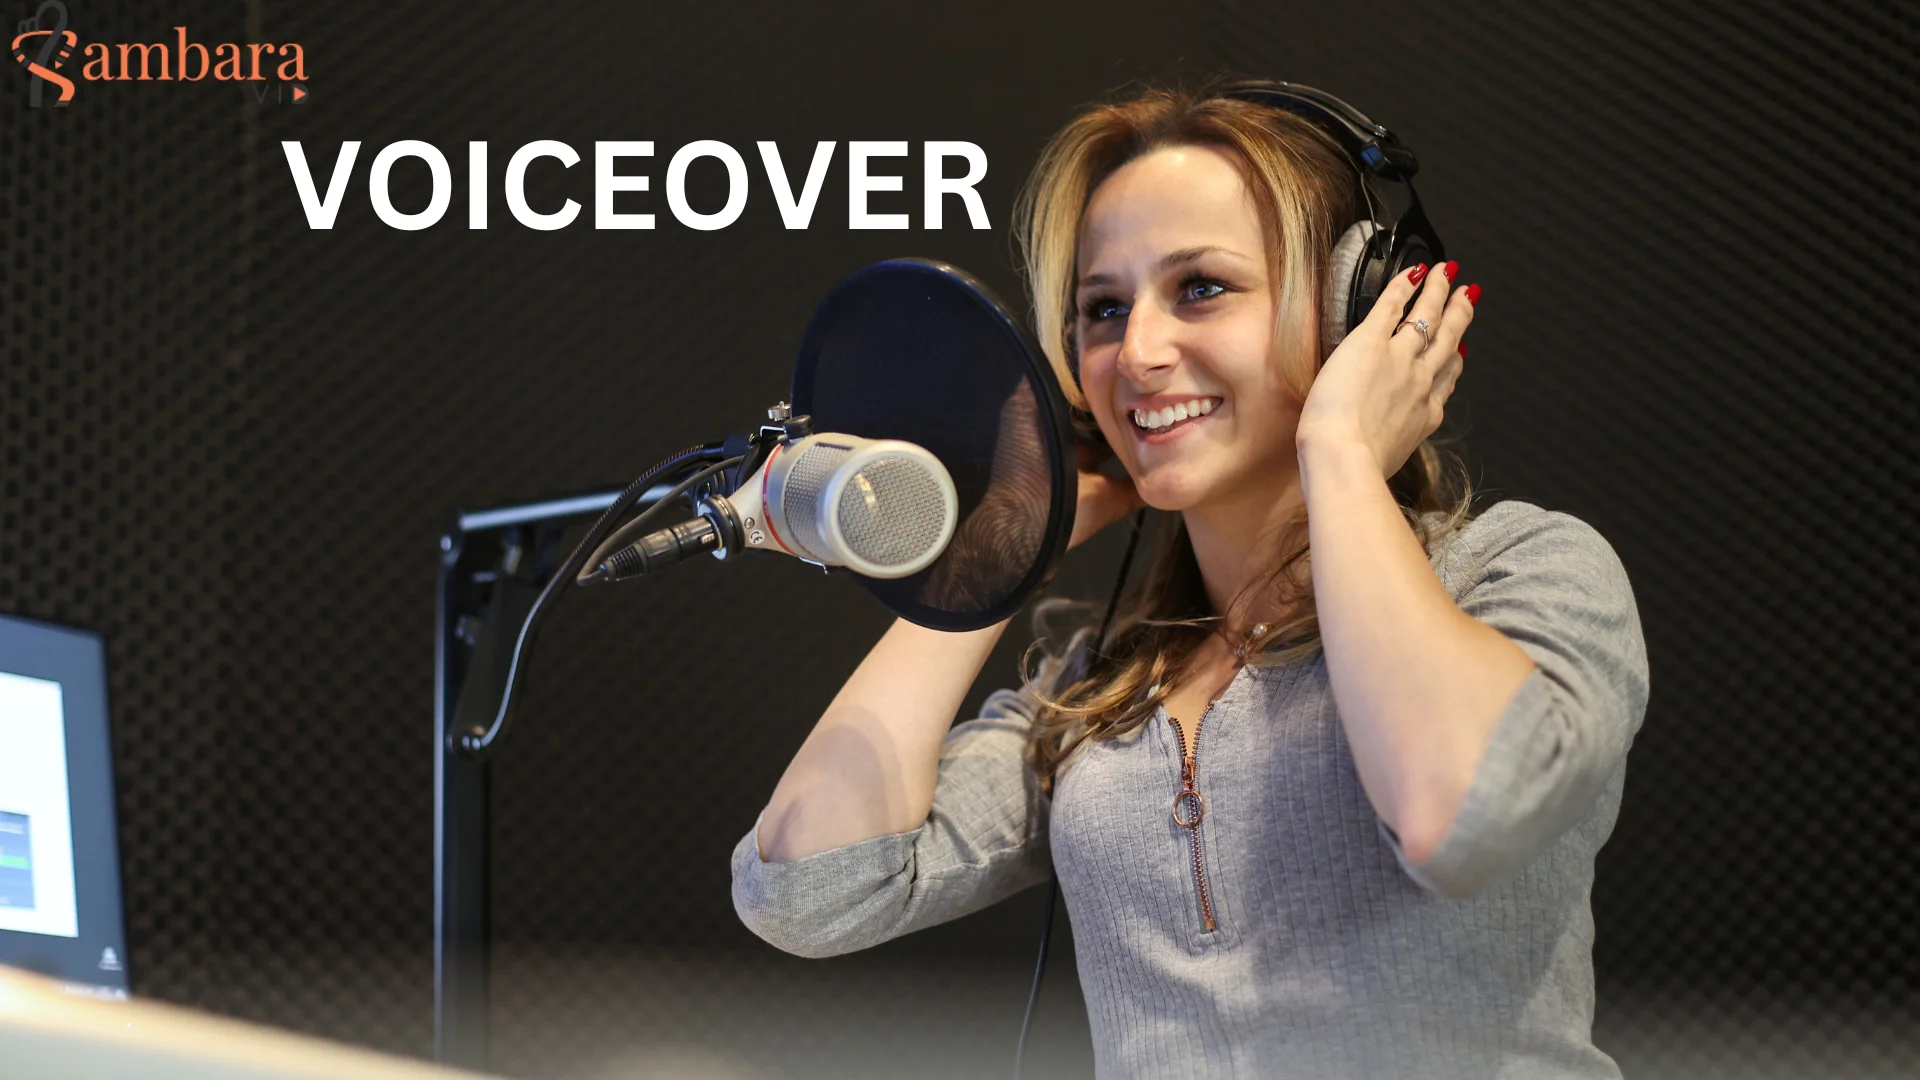
A 2D animated video feels boring without adding music in the background. Adding a voiceover or background music can enhance the viewer’s experience and convey the message more effectively. Additionally, background music can help the viewers to understand the complex ideas.

- To add music into the video, it is essential to know the audience’s musical tastes, such as mostly children like funny music.
- To add the voiceover, it can be added by syncing the voiceover according to the visuals. Make sure the voiceover matches perfectly with the visuals of the video.
- The voiceover can be generated through the software as well. If you do not want to add your voice to the video, generate the voiceover using software and add it to the video.
After adding the narration, the video is ready to publish. Make a final version, recheck all the previous action and remove mistakes. If everything is fine, it’s time to promote and publish the video through social media platforms.